
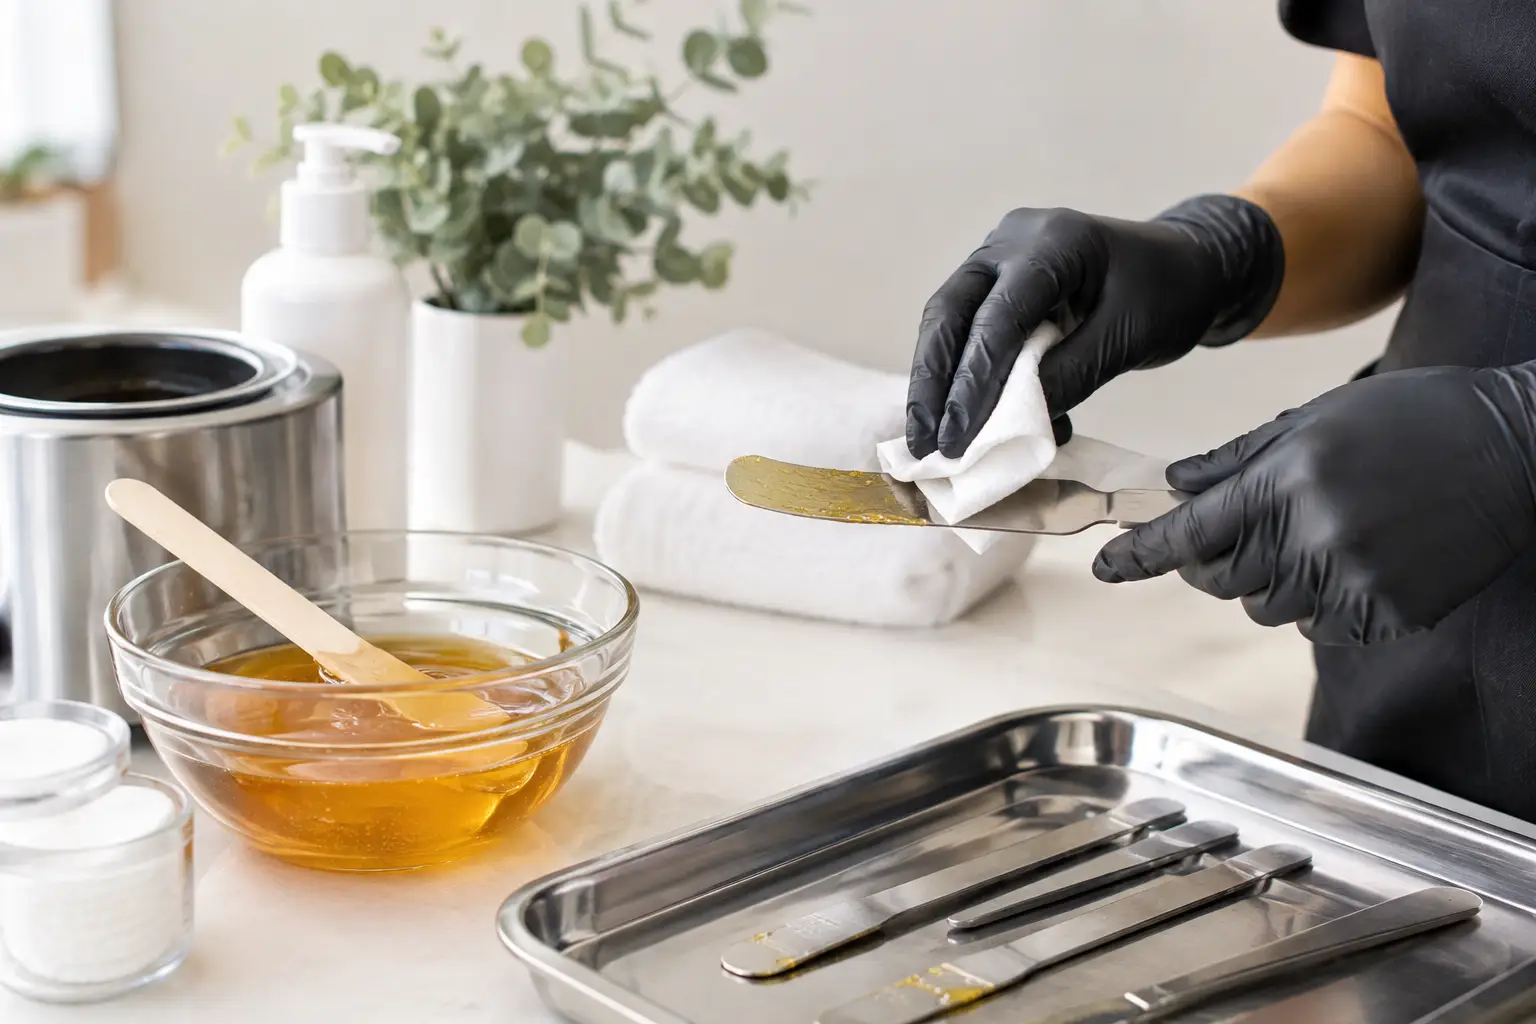
A beautiful sugaring service begins long before the first strip is placed. Clients may not see every step of your reset, but they feel the difference in a room that is orderly, fresh, and thoughtfully prepared. Learning how to sanitize sugaring tools properly is not a background task. It is a core part of skilled, client-centered practice.
For professional practitioners, sanitation protects your clients, your business, and the confidence you bring to every appointment. A reliable routine also keeps the turnover between services calm and efficient, rather than rushed. The goal is simple: every client should receive service with clean tools, a disinfected treatment area, and product handled in a way that prevents cross-contamination.
Sanitation, cleaning, and disinfection are not the same
These words are often used interchangeably, but each step has a distinct job. Cleaning removes visible residue, dust, and product buildup. Disinfecting uses an appropriate registered disinfectant to reduce microorganisms on nonporous, hard surfaces. Sanitizing is the broader everyday term many people use for maintaining hygienic tools and workspaces.
In a sugaring room, cleaning must come first. Disinfectant cannot work as intended through a layer of sugar paste, oil, skin debris, or residue. Think of it as a two-part process: remove what you can see, then disinfect according to the product label.
Your state, provincial, municipal, or licensing-body requirements may set specific rules for disinfectants, contact time, storage, and reusable implements. Those regulations always come first. Your disinfectant label is equally important. More product is not necessarily better, and wiping a surface dry before the required contact time is up can reduce its effectiveness.
Set up with a clean-to-used workflow
The most dependable sanitation habits happen before your client arrives. Begin each appointment with a treatment bed covered in fresh, single-use paper or a freshly laundered barrier. Keep clean implements separate from anything that has touched the client, the treatment bed, or a used product container.
Create clear zones in your room. One area holds cleaned and disinfected tools in a closed container or drawer. Another is reserved for used tools that need to be cleaned. This small bit of organization prevents the easy mistake of setting a used tweezer beside a ready-to-use one.
Your hands are part of the sanitation plan, too. Wash them thoroughly before setting up, before and after each service, and anytime you touch your face, phone, hair, door handle, or another non-service surface. Use gloves when your local regulations, the service area, or your professional assessment calls for them, and change them whenever they are contaminated or torn.
Keep sugar paste protected from contamination
Sugaring requires special attention because the product is handled throughout the service. The safest practice is to portion product for each client and never return product that has been used during a service to the main container. Once paste has contacted the client or a tool used on the client, treat it as used product.
Use a fresh applicator or a clean hand technique that follows your training and local requirements. Never double-dip an applicator into a communal jar after it has touched the skin. Keep lids closed when product is not actively being used, and wipe the outside of containers if residue has transferred to them.
This approach protects the integrity of the product while giving clients the comfort of knowing their service is prepared just for them. It also makes cleanup more predictable, especially on busy days.
How to sanitize sugaring tools step by step
After each appointment, begin your reset without delay. Sugar paste hardens as it cools, so addressing residue promptly saves time and helps preserve reusable implements.
First, dispose of all single-use items. This may include bed paper, cotton rounds, applicators, gloves, tissues, and client-specific product portions. Place waste in a lined container and remove it according to your workplace procedures.
Next, gather reusable items such as tweezers, scissors, bowls, or metal tools. Remove visible product and debris with warm water and an appropriate cleaning solution. If the item can safely be washed, wash all surfaces carefully, rinse thoroughly, and dry it completely with a clean disposable towel or allow it to air dry in a protected area.
Once visibly clean and dry, disinfect nonporous reusable tools with a professional disinfectant approved for the purpose and compatible with the material. Follow the exact dilution, immersion, or wipe-on directions and required contact time listed on the label. Do not assume a quick spray is enough.
When the disinfection step is complete, store tools in a clean, covered container until the next appointment. A tool that has been disinfected but left exposed on an open counter can pick up dust or be touched accidentally. Covered storage protects the work you have already done.
Porous, cracked, rusted, or damaged items cannot be reliably disinfected. Replace them. The same goes for any implement that cannot be fully cleaned because of design or material. Saving a small item is never worth compromising a professional standard.
Reset the treatment room, not just the tools
Your implements matter, but the treatment room deserves the same attention. After every client, remove the used bed barrier and disinfect all high-touch, nonporous surfaces. This typically includes the treatment bed, stool, tray, lamp handles, magnifying light controls, product bottle pumps, drawer pulls, and any countertop used during service.
Allow disinfectant to remain wet for its full label-listed contact time. This is where practitioners are most likely to rush, especially when another client is waiting. Build that time into your appointment schedule instead. A thoughtful buffer gives you room to reset with care and welcome the next client without stress.
Floors should be kept free of hair and debris throughout the day, then cleaned according to your studio schedule. Laundry should go directly into a closed hamper or designated container and be washed using appropriate temperature and detergent procedures. Never shake used linens, as that can spread debris into the room.
Do not forget bottles, jars, and devices
Product packaging is often handled with gloved hands during service, which means it can become a touchpoint. Wipe and disinfect compatible bottle exteriors, pump tops, jar lids, and device handles between clients. Use disposable barriers where appropriate, then replace them every service.
Check your tools and equipment manufacturer instructions before applying any disinfectant. Some surfaces require a particular product or method to avoid damage. If a device cannot be disinfected directly, use a compatible barrier and change it between clients.
Common sanitation mistakes to avoid
Most sanitation slip-ups are not caused by carelessness. They happen when a practitioner is moving quickly or has not built a repeatable room-reset routine yet. The most common issue is confusing a visibly clean surface with a disinfected one. Another is using disinfectant incorrectly by skipping the contact time or mixing products in a way the label does not allow.
Avoid storing clean and used implements together, even temporarily. Avoid topping off product containers without cleaning and disinfecting them first. And do not rely on fragrance, a tidy counter, or a quick wipe as proof that the room is ready. Professional sanitation is a process, not an appearance.
It also depends on your setup. A solo practitioner in a home studio may need a more deliberate storage system than a larger salon with a designated sterilization area. A high-volume schedule may require duplicate sets of reusable tools so one set can complete the full cleaning and disinfection process while another is ready for service. Adapt the workflow, but never shorten the standard.
Make your routine easy to repeat
Consistency is what turns sanitation knowledge into professional confidence. Create a written opening checklist, between-client reset checklist, and closing checklist for your room. Keep supplies stocked before they run low: gloves, bed barriers, clean towels, disinfectant, disposable applicators, trash liners, and labeled containers for clean and used tools.
If you are training in sugaring or refining your current practice, rehearse your reset until it feels as natural as your application technique. A calm, organized sanitation routine supports a more comfortable experience for clients and helps you stay present during the service itself.
Clients trust the care they can see, but the care they cannot see matters just as much. When every tool, surface, and product is handled with intention, you create the kind of polished, welcoming space where smooth skin and genuine peace of mind belong together.